This tutorial will cover how to schedule an interview with a candidate.
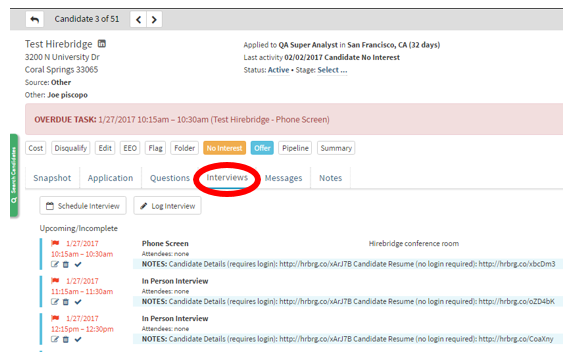
- Once on a candidate’s page, click on the “Interviews” tab as outlined in red below.
- The "Interviews" tab gives you a history of scheduled interviews.
- This tab also allows you to schedule an interview with the candidate.
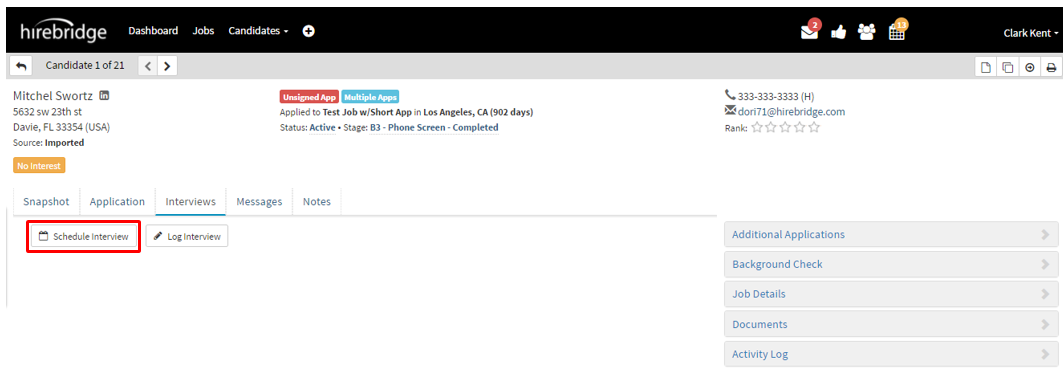
- To schedule an interview, click on the “Schedule Interview” button outlined in red below.
- After you have selected "Schedule Interview", the "Schedule Event" page will load (Pictured below).
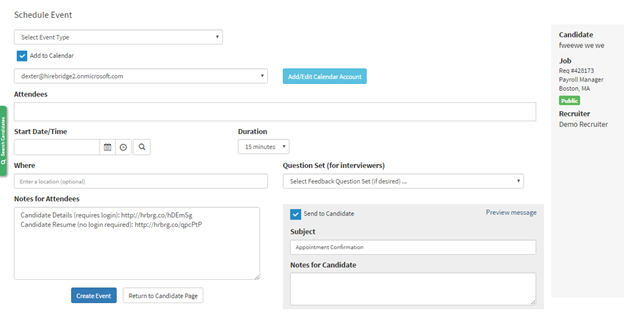
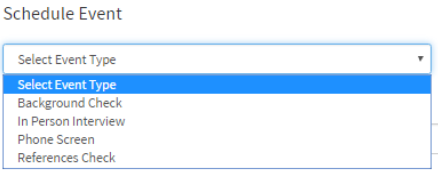
- Once on this page, this is where you need to select the type of event you are scheduling by selecting from the drop-down menu.
- If you would like to add the event to your calendar, check the "Add to Calendar" checkbox.
- In order to have the event added to your calendar, you would need a Microsoft Exchange or Gmail account so the event can be added to that account calendar.
To attach Microsoft Exchange/Office and Google Accounts
Please select the links provided below
How to attach Microsoft Exchange/365 Calendar
How to attach Google account to calendar
- After you have saved the calendar account information you can now add "Attendees"

- Attendees - Are individuals who also will be attending the interview. You can add individuals by typing their email into the provided box.
- Start Date/Time - Select specific start date and time of the interview.(In order to use the search button to view attendees schedule. Attendees need to be on the same network.)
Guide on how to view attendees schedule Click Here. - Duration - Selecting a duration time from the drop-down list
- Where - An optional field where you can set your interview location.
- Question Set (For Interviewers) - Allows the Attendees to give feedback on the candidate they are interviewing
- Notes for Attendees – This allows for specific notes only for the attendees.
- Subject - Section where you would insert the message subject
- Notes for Candidate – Allows you to send notes specific to the candidate only.
- Preview - Lets you preview the message that will be sent out
Once you have finished filling out the fields you would now create the event by click on the blue
“Create Event” button on the bottom of the page.
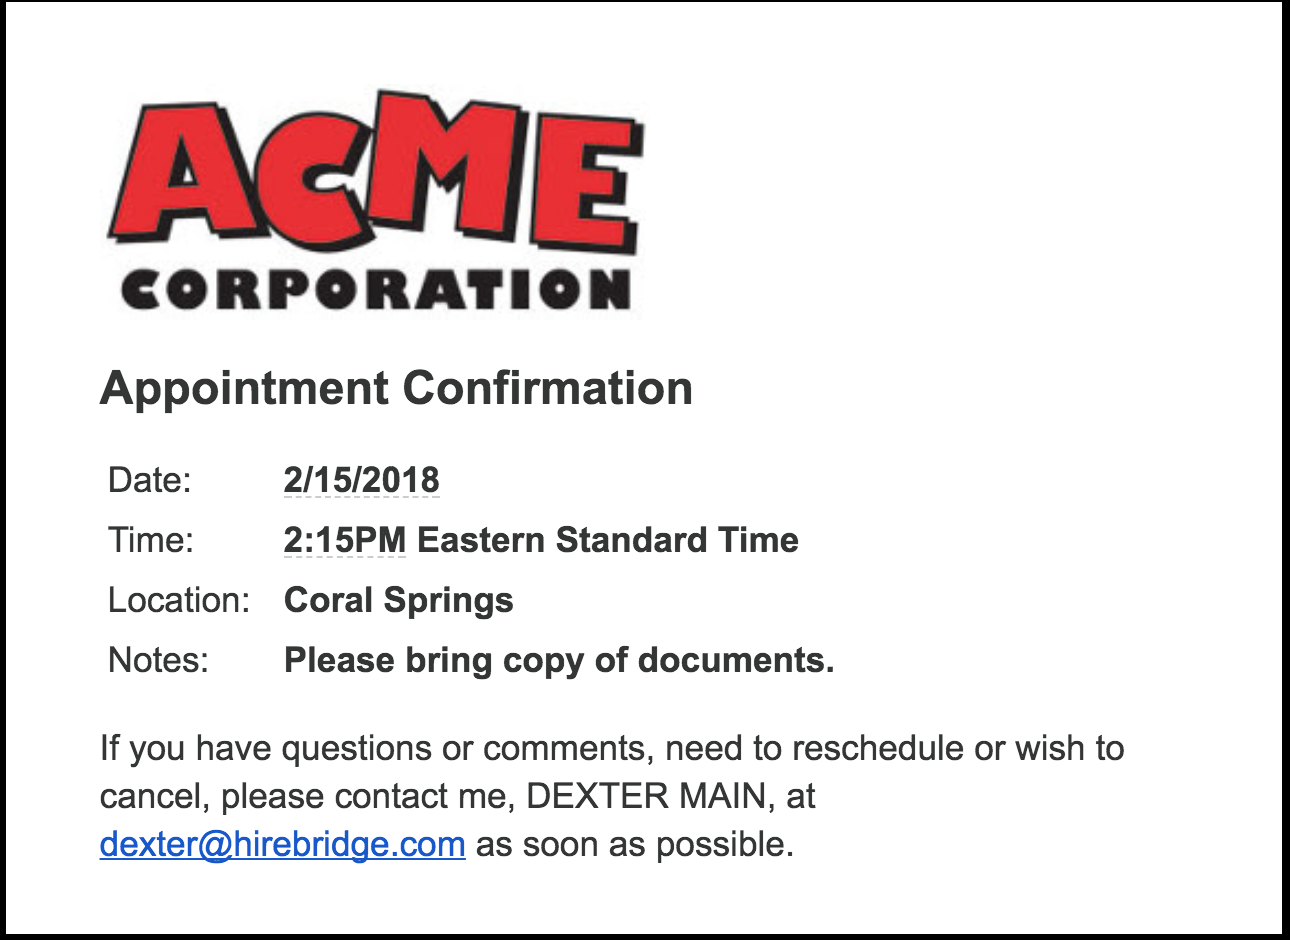
After the event is created attendees and candidates will receive an email notification like the image provided below.
Rescheduling an Interview
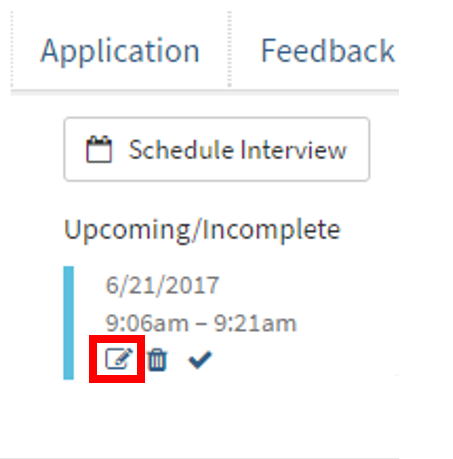
- To reschedule an interview, go back into the interview tab.
- This will allow you to view the interviews scheduled with the candidate
- To change the time and date, select the notepad and pencil icon to the left of the interview.
(Pictured below)
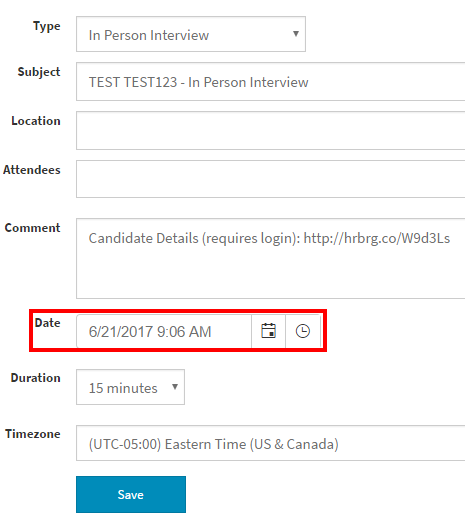
- A pop-up will appear allowing you to edit all of the fields of the interview.
(Pictured below) - For this example, we would select the Date section. This section will allow you to edit the date and time of the interview.
- Once you are satisfied with the date and time you can now select the blue "Save" button at the bottom of the pop-up.
Video Tutorial