This article will cover how to create a document exchange link and how to use it.
- The first step into creating the document exchange link is by going into the email template.
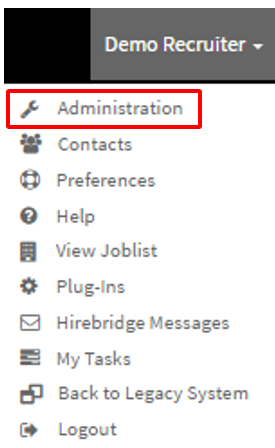
(The document exchange link can be sent out to the candidates through the Hirebridge email system.) - In the top right select your username.
- A drop-down list will appear and from this list is where you will select "Administration"
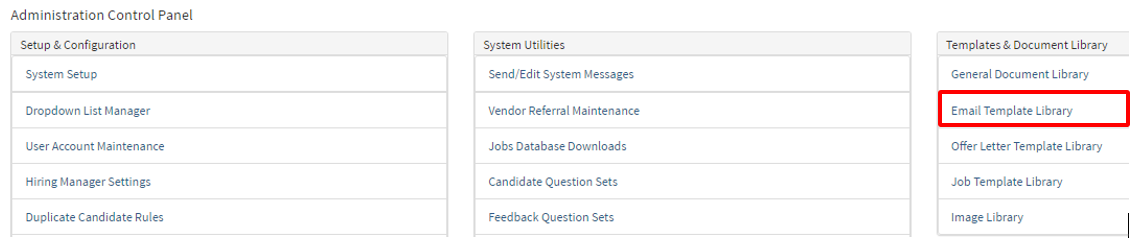
- This will now take you to the "Administration Control Panel" page.
- On This page is where you will select "Email Template Library" in the "Templates & Document Library"
- This will now take you to the email template library where you can create and edit email templates.
- For this example, we will create a new template by selecting the blue "Example" button on the top left.

- When creating a new template or editing, you will land on the "Email Template Editor" page.
- Below is where you can enter a Template Title, Select the Template Type, and Email Subject.
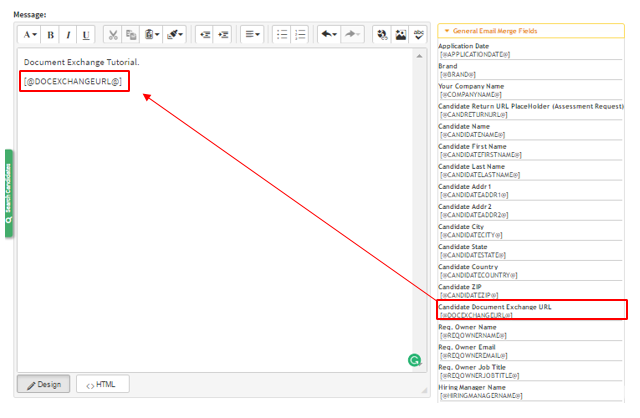
- In the Text Editor below is where you can add the Candidate Document Exchange URL.
- The General Email Merge Fields tab outlined below is where you can find the document URL
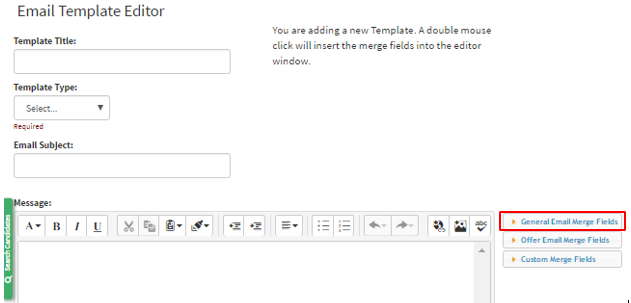
- Once you have opened this tab you will be given a few merge fields to select from.
- Double clicking the merge field will insert the link into the Text Editor.
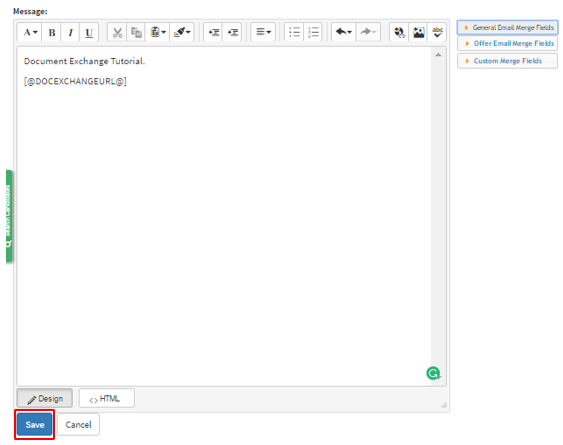
- After you have inserted the link and are happy with the email template select the blue "Save" button at the bottom of the page.
This section we will cover how to use the document exchange and the process.
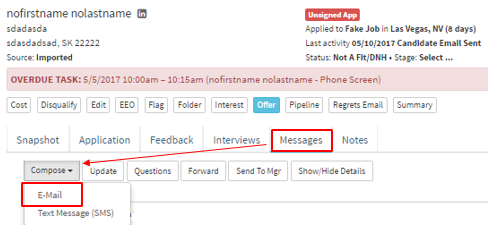
- The first step to using the document exchange is to go into a candidate profile.
- Next select messages which will open up the messaging options
- Select Compose and then the E-Mail option from the drop-down list.
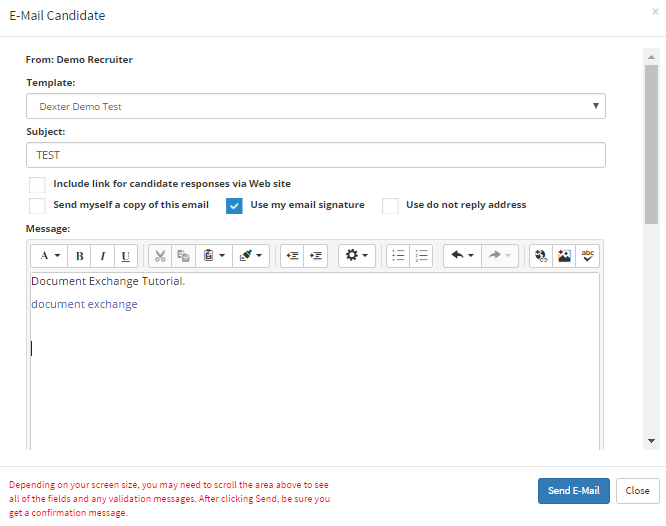
- A pop-up will appear which will allow you to E-Mail the candidate.
- The next step is to select the template you created with the Document Exchange URL.
- You can also edit the message by selecting inside the text editor.
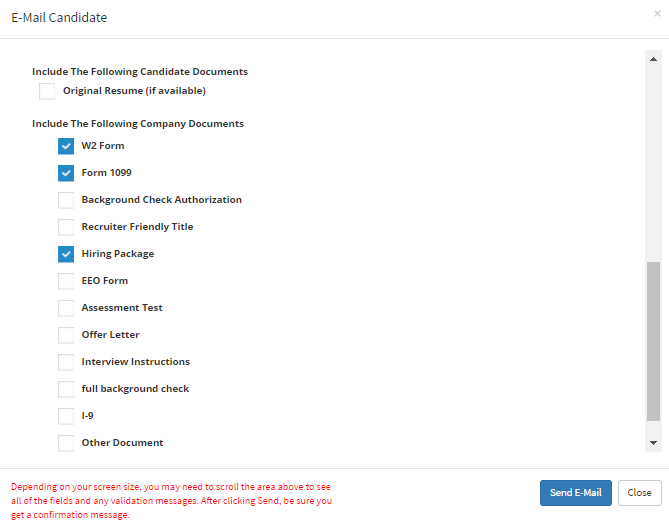
- Once you are satisfied with the message you can scroll down and also include the documents that you would like the candidate to fill out.
- For this example we want the W2 /1099 Form filled out and returned to us. We should check the boxes of the documents we would want to include in the email.
- After you have selected the documents you would like to include in the email to the candidate select the blue "Send E-Mail" button at the bottom right corner.
- The candidate will now receive an email with the documents attached to it
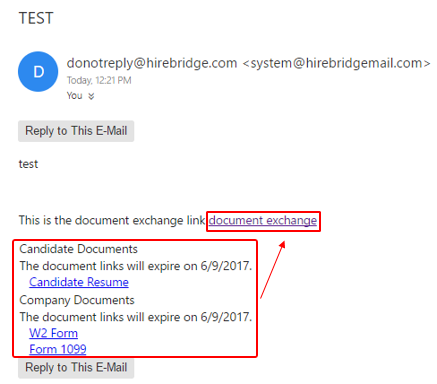
- Once the candidate has downloaded the documents and filled them out correctly they can select the "Document Exchange" link to upload the document into the Hirebridge system.
- Below is a picture of the link that was included in the email
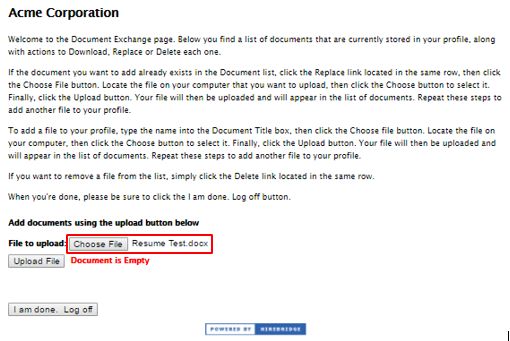
- This page will allow the candidate to upload their documents by choosing them from their device.
- Once they have selected the file the candidate would want to upload, it will show the file name next to the "Choose File" button.
- After the candidate has uploaded their document with the "Upload File" button.
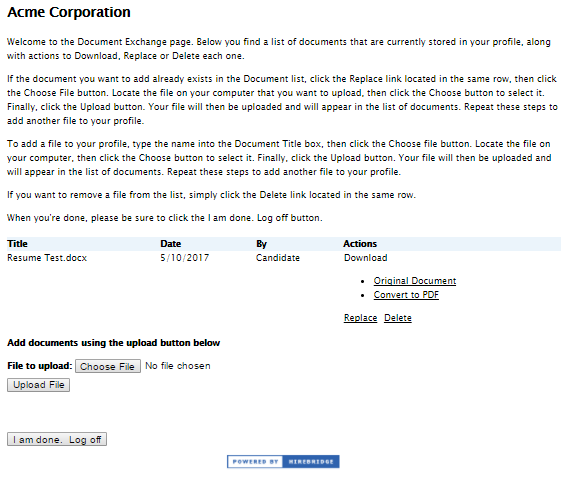
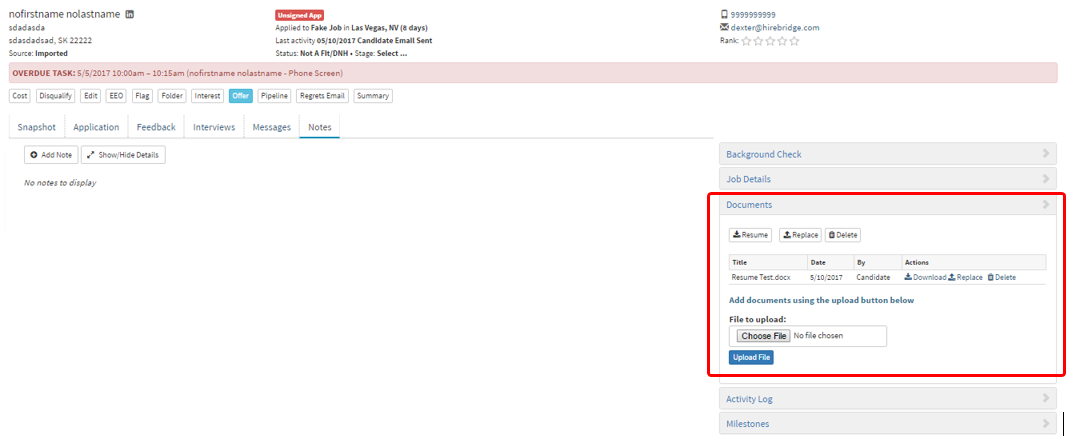
- The document title will now be displayed, date, who uploaded it and the actions that they can do to the document.
- Once the candidate has finished uploading the document they select the "I am done. Log off" button.
The document will now be displayed in the candidate profile in the "Documents" section on the right. (Pictured Below)