This article will give a basic overview of the Custom Report Writer.
- To access the custom report writer select the "Reports" tab in the navigation bar
- After you have selected the "Reports" tab select "Report Writer" (Outlined Below)

- The first step is to choose what type of report you would like.
- The left drop-down list displays saved reports
- The right drop-down lists the available report types that are customizable.
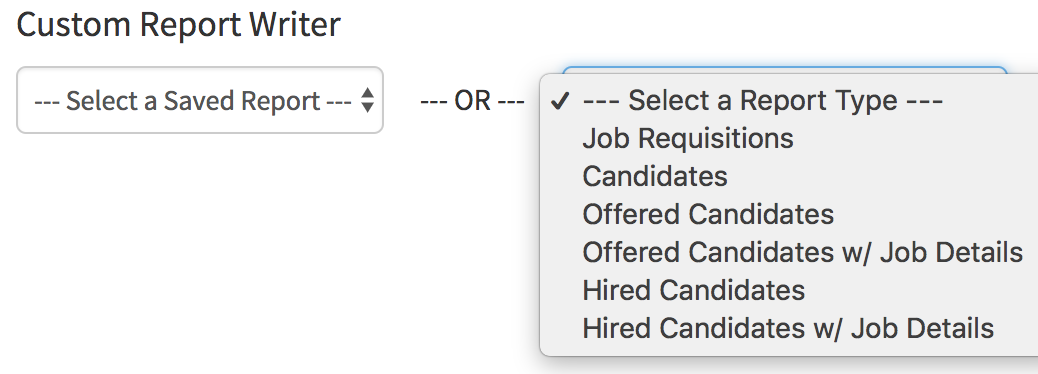
For this example, we will use "Candidates" custom report writer
(Pictured below)
First, we will do a basic overview of the custom reports page.
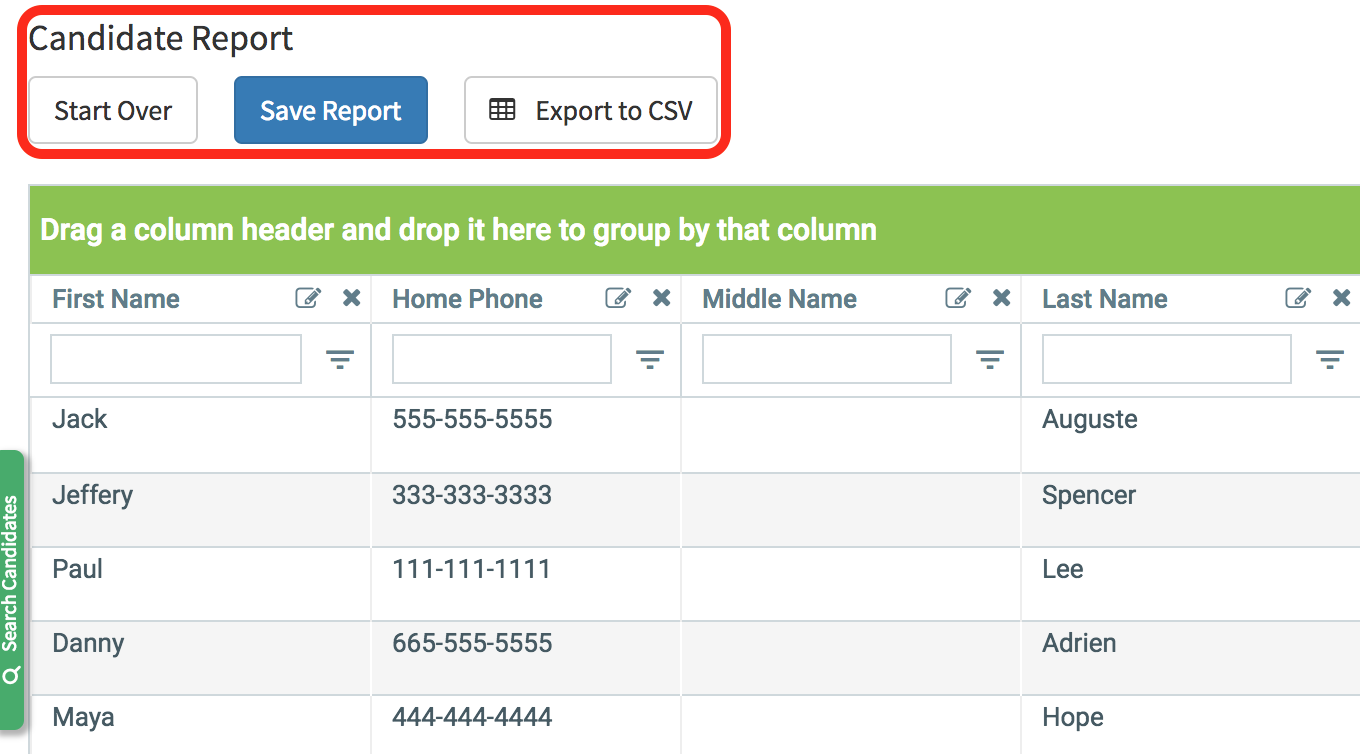
- The first section we will cover is outlined in the image above in red.
- Start Over - This allows you to go back to the page where you can select which type of report.
- Save Report - Allows you to save the report arrangement and places it into the saved reports.
- Export to CSV - This button will export the arranged data into a CSV file.

The next section we will cover is the "Grouping" area and columns.
- To group by column, drag and drop the column header into the green area to group.
- You can also do multiple groups in different orders.
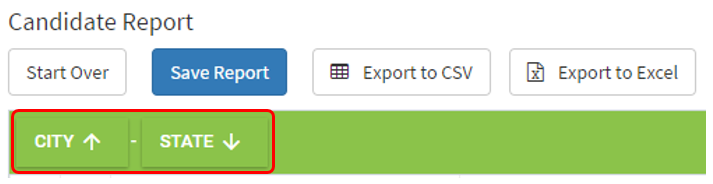
EX: we can group candidates by state first then by city and vice versa.
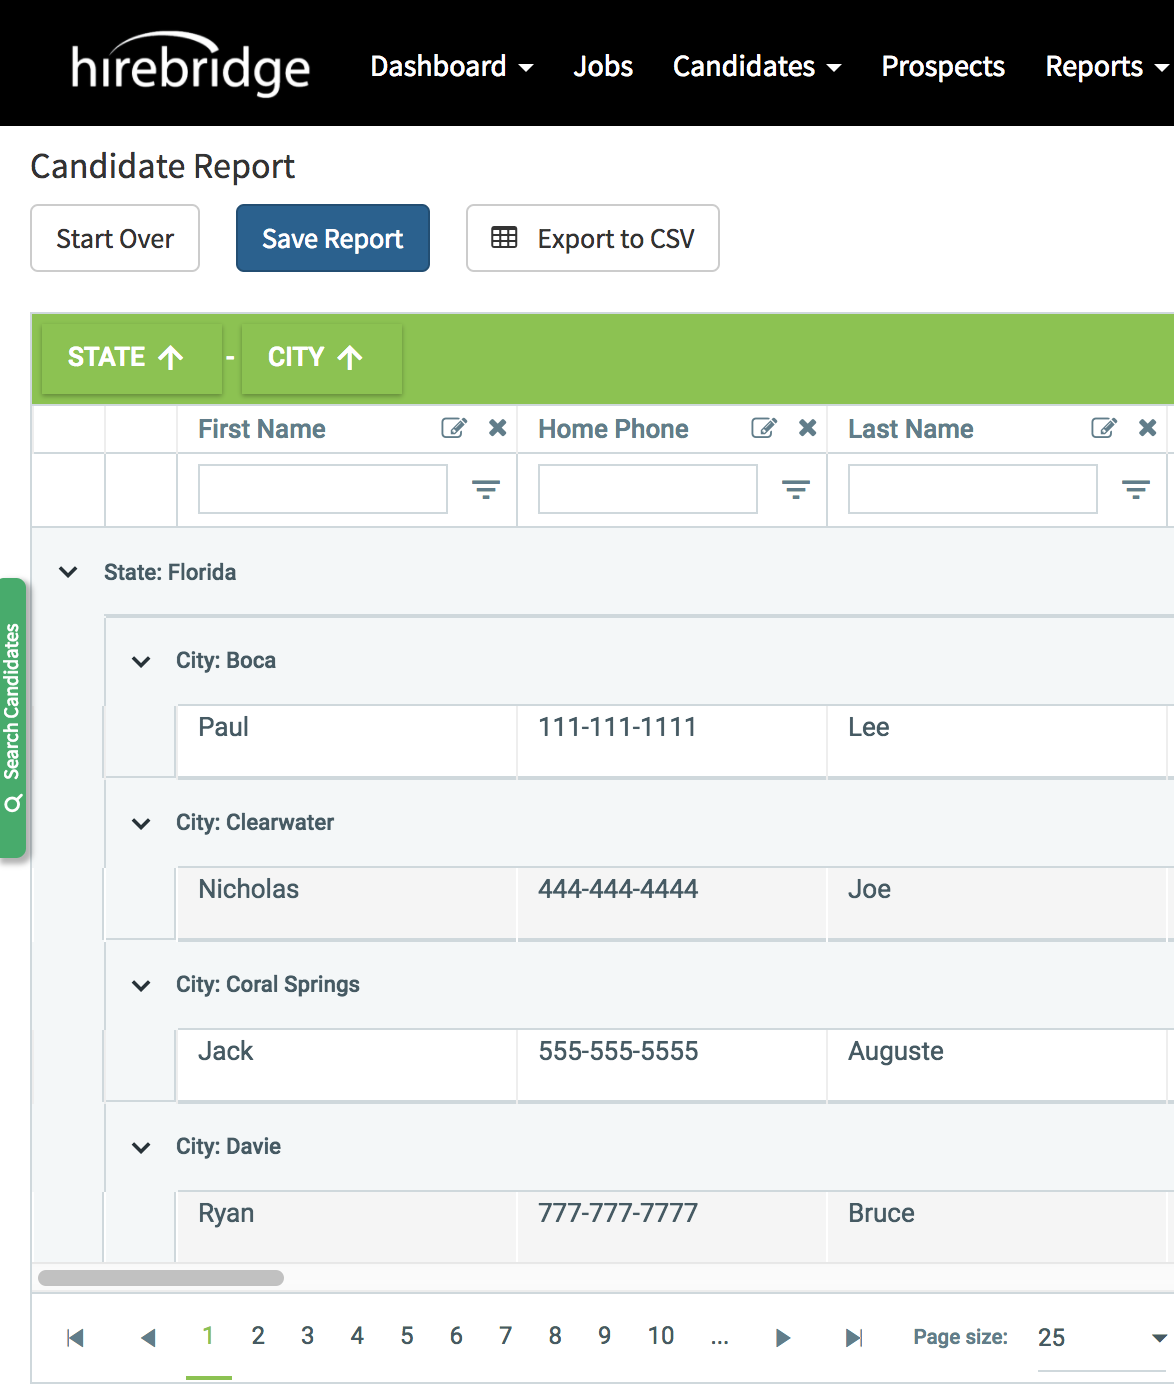
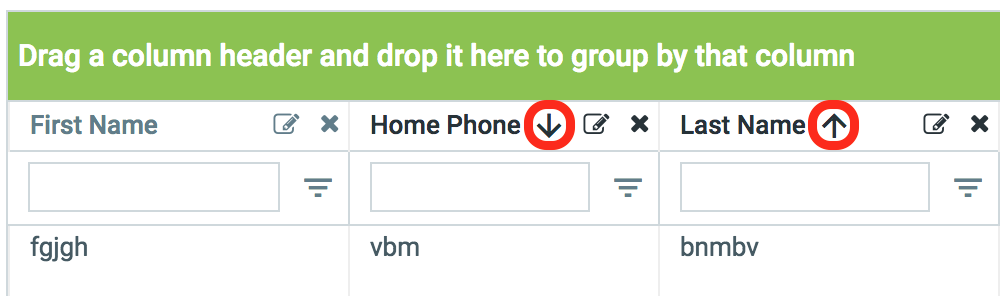
- In the picture below you can also sort the group in ascending and descending order.
- In order to sort by ascending and descending order select the arrows next to the group name.
The next section will cover the candidate information column
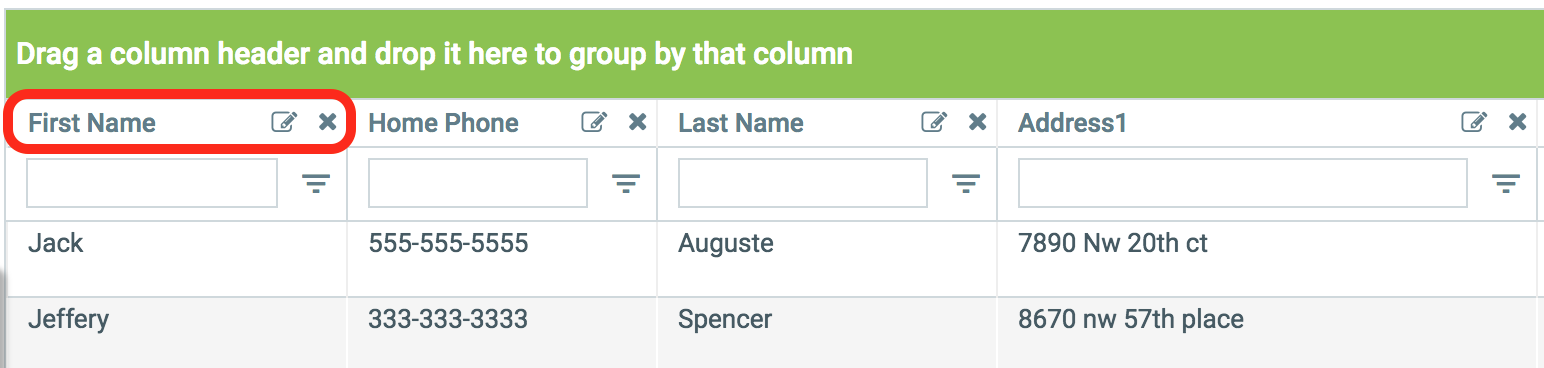
- Each column contains candidate information
- All of the header names can be edited by selecting the notepad & pencil icon and can be removed by selecting the "X".
- Each header can be dragged and dropped into the group bar or arranged horizontally by dragging and dropping each column.
- Click on each column name will sort each column by ascending (Arrow Up) descending (Arrow Down) and when no arrows are visible the column is not sorted.
To filter each column first you will need to populate the textbox field then apply the filter by selecting the arrow icon to the right.
Example: We want to filter the first name column by letter starting with "T" so we populate "T" in the textbox. Next, we select the arrow to access "filter options" then we select "StartsWith". Once you select the filter the page will reload with the filter applied.

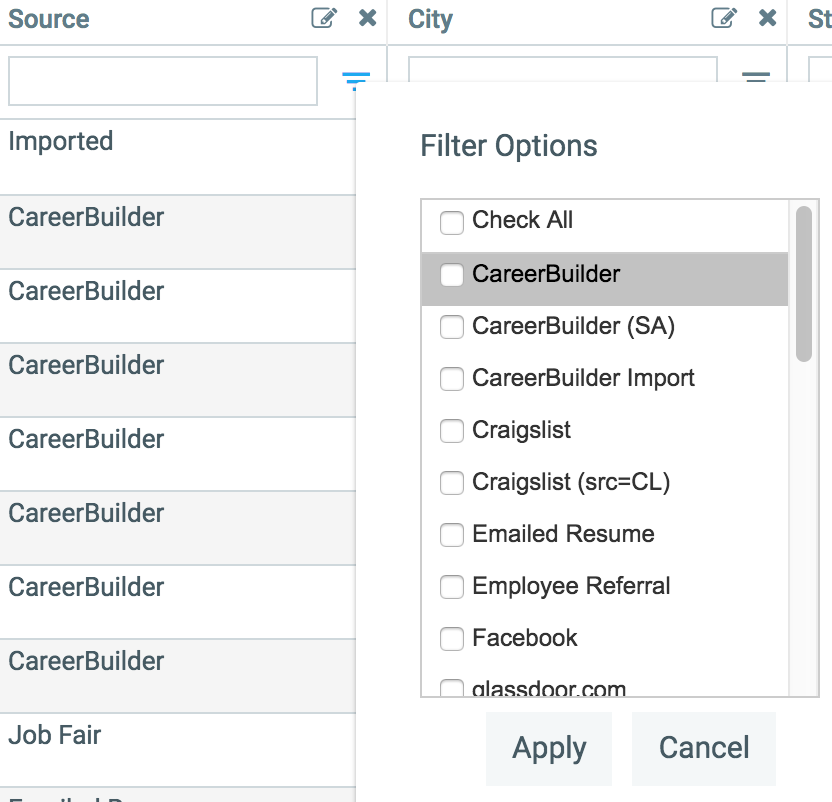
Filter options will differ if the column field is from the drop-down list.
Checking the box next to each name and selecting apply after will filter through the fields and display the checked fields only. You can apply multiple filters to each column.
The last section we will cover is at the bottom of the custom report page.
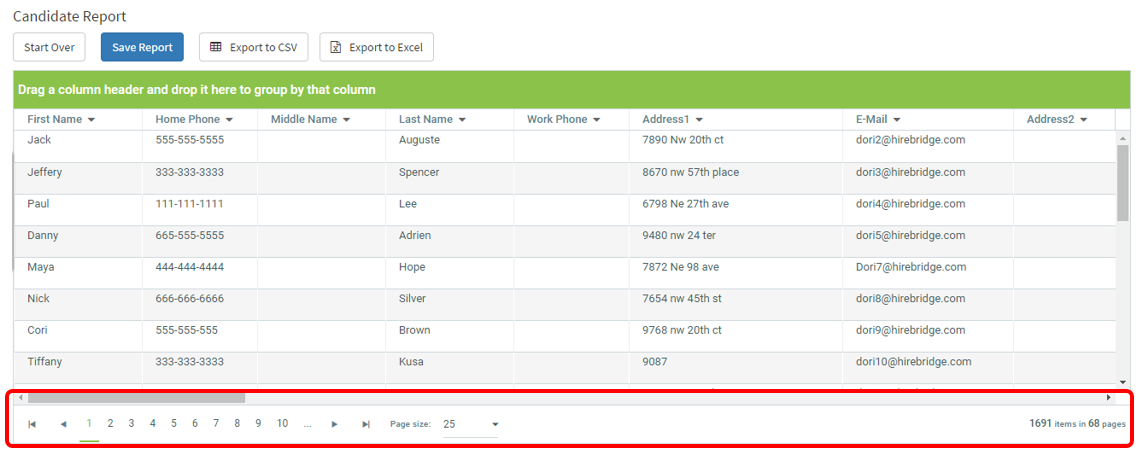
- The numbers at the bottom of the page allow you to select the page you would like to navigate to.
- Page Size allows you to select the rows that are available on the page.
- The bottom right of the page will display the total number of results and pages