This article will cover how to Add and Edit the image the Career Center
(One of the requirements is to have an image located in the image library.)
Below is a link to how to add an image to the Image Library
https://hirebridge.zendesk.com/hc/en-us/articles/115006337528-Add-Image-Library
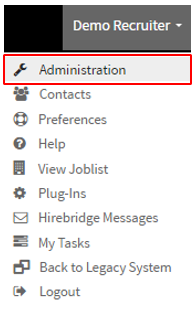
- The first step in adding an image to the career center is to select your username on the top right corner.
- Next, select the "Administration" link outlined below.
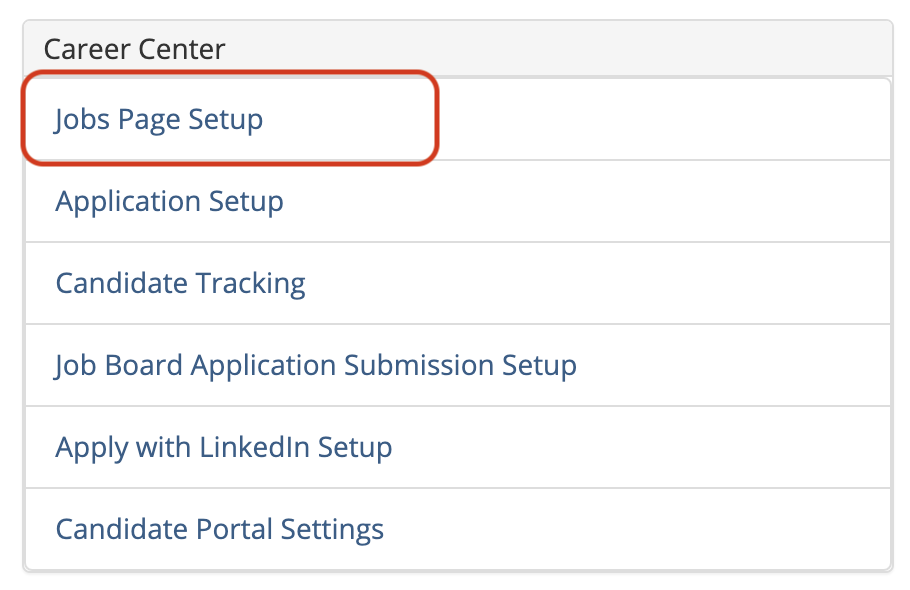
- This will now take you to the "Administration Control Panel" page.
- Next select "Jobs Page Setup" outlined below.
- This will take you to the "Career Center Settings" page where you will be able to edit the company logo.
- Once on the page select the "Logo" tab.
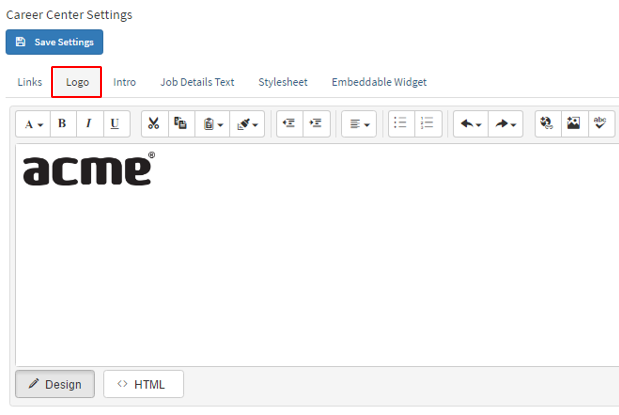
- This is where you are able to add/edit the company logo.
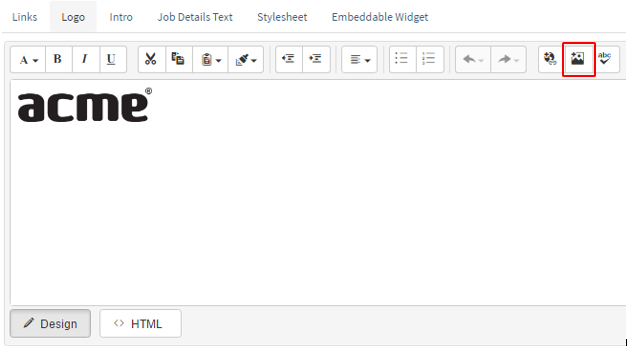
- To add a new company logo simply select the picture icon on the right. (outlined in red below)
- A pop-up will now appear where you will select "All Properties" (Outlined in red below)
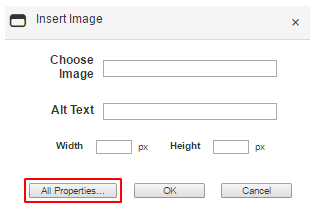
- This page is where you will edit all of the properties of the image.
- The next step to add an image is to select the image icon outlined below
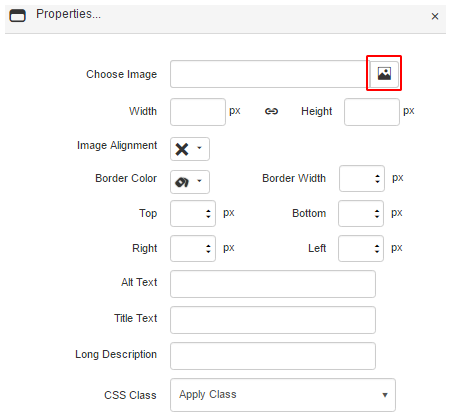
- This will take you to the image library where you can select which image you would like to add.
- Simply select the image on the left side.
- a preview of the image that you select will appear on the right side.
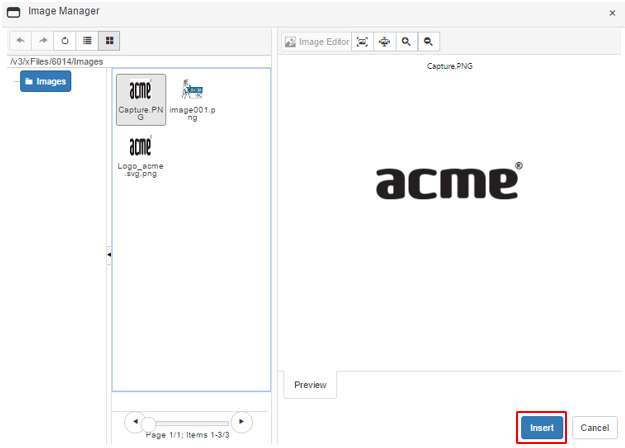
- Once satisfied select the blue "Insert" button on the bottom of the page.
- This will take you back to the image properties page where you can make size adjustments to the logo.
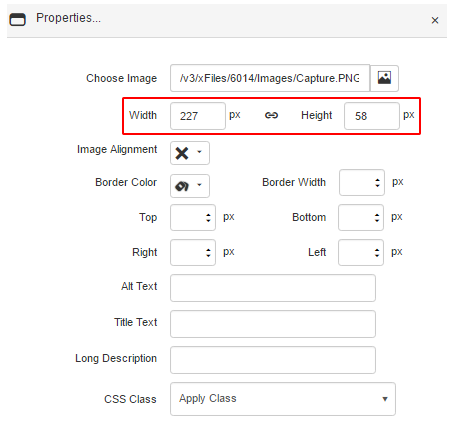
- Once satisfied with the size select the blue "ok" button on the bottom of the page.
- The image will now appear in the Career Center Settings, Logo tab.
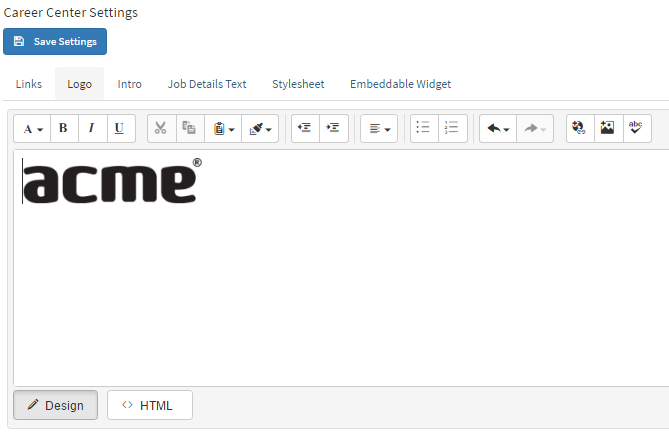
If you are satisfied with the settings select the blue "Save Settings" button.