This article will give you a basic understanding of how requisition approvals work.
- If you have the capability to create requisitions, depending on company preference there might be an approval process.
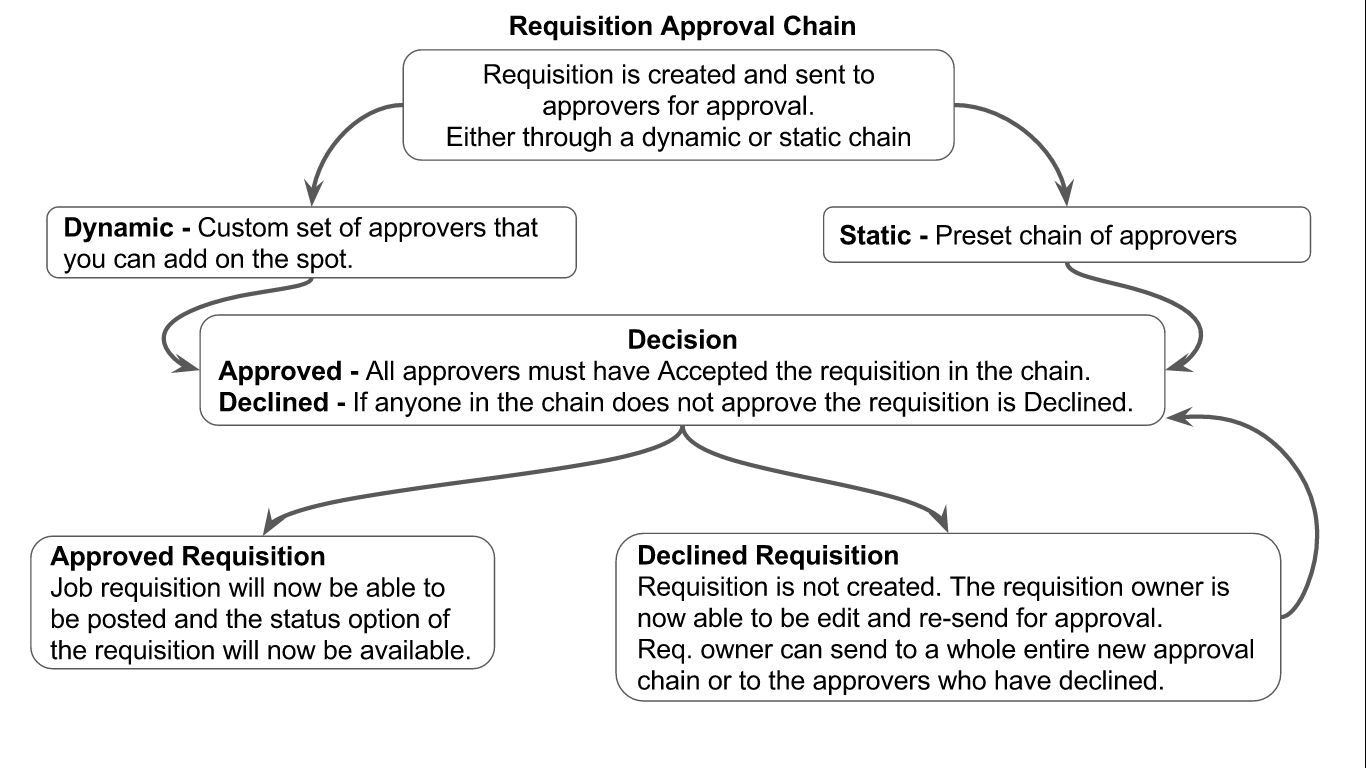
- Below is a diagram of how the requisition approval process works
Now that you have an idea of how the Approval process works we will now cover the process.
- The first step is select the "Plus" icon which will open a drop-down menu.

- Now select "Add Job" - This will now take you to the "Job Requisition Editor" page where you will be able to add a new job.
- This will redirect you to the Job Requisition Editor page.
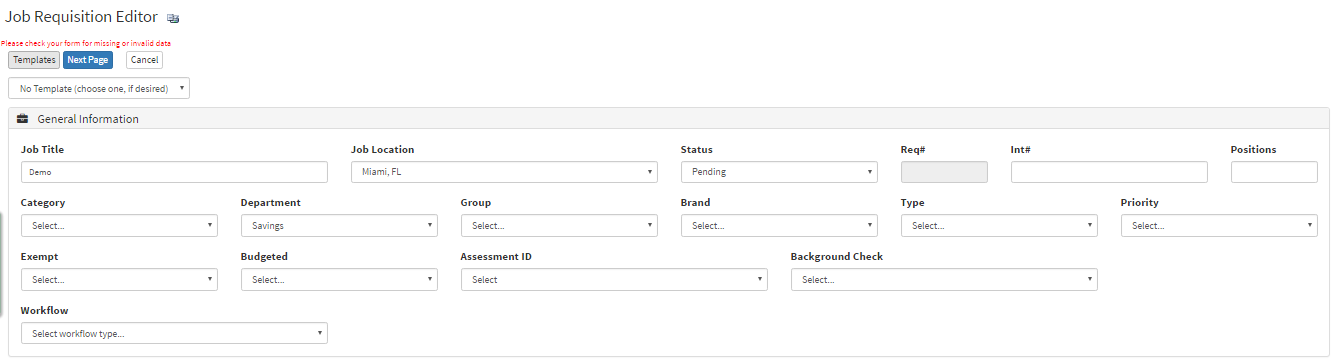
- Once you have filled out the required fields select next at the bottom of the page or at the top of the page.
The next step will be to setting the "Approval Chain".
(This example we will cover the "Dynamic Approval Chain" which is choosing approvers on the spot)
Dynamic Approval Chain - Choosing available approvers the moment approvals are needed.
Static Approval Chain - A preset chain of approvers you cannot change but can select from.
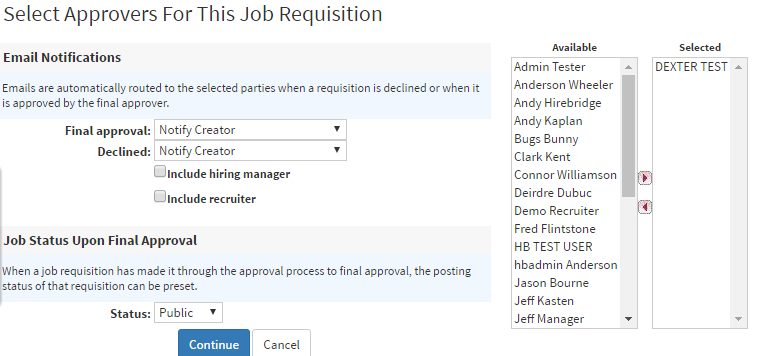
- When you create a list, choose from the "Available" section and move approvers over to the "Selected". The first approver will always be at the top and the last approver will be at the bottom.
- Final Approval Decision Email Notifications –
- Notify Creator - Notifies the creator if the offer has been approved/declined.
- Notify Prior Approver - Notifies the last approver if the offer has been approved/declined.
- Notify Creator & Prior Approver - Notifies both individuals if the offer has been approved/declined
- Notify All In Chain - Notified everyone int he list if the requisition has been approved.
- Include Hiring Manager - will notify the hiring manager if the requisition has been approved or declined.
- Include Recruiter - will notify the hiring manager if the requisition has been approved or declined.
- Job Status Upon Final Approval - Once the requisition has been approved this gives you the option to post the requisition as either private, public or on hold.
- Once you have chosen the chain of approvers, along with who will be notified when the requisition is either approved or declined. Select the blue "Continue" button.
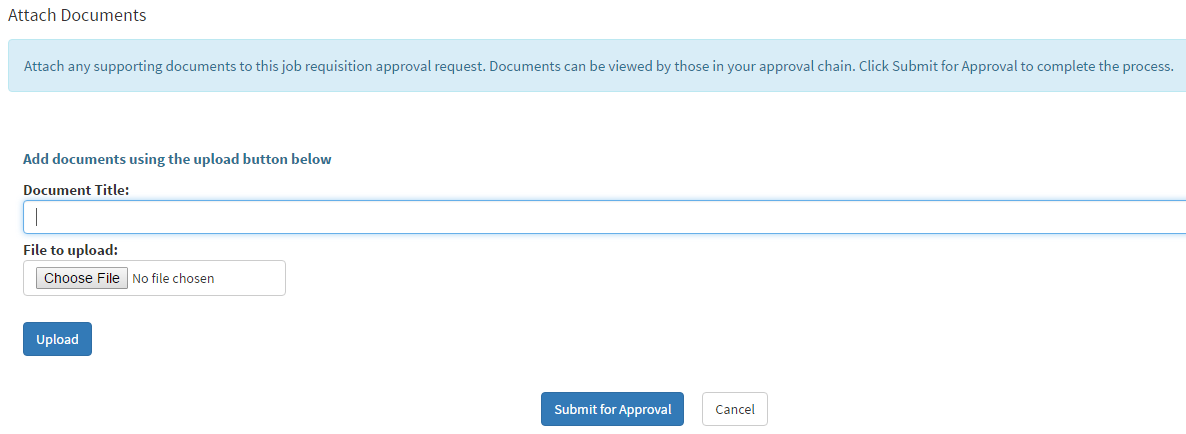
- The next page you will reach is the "Attach Documents" page this is where you will attach any supporting documents for the requisition that you are creating.
- Once you have submitted the documents you will now me redirected back to the jobs page.
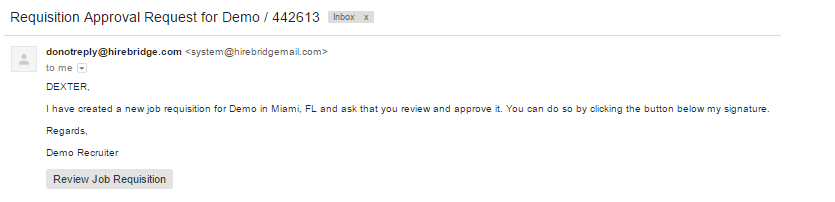
- The list of approvers will now receive an email to review the offer.
- The picture above is an example of the kind of email approvers will receive. At the bottom of the email, there is a gray "Review Job Requisition" link.
- This link will take you to a web page that will enable you to view the information provided, make comments about the offer and accept or decline the offer.
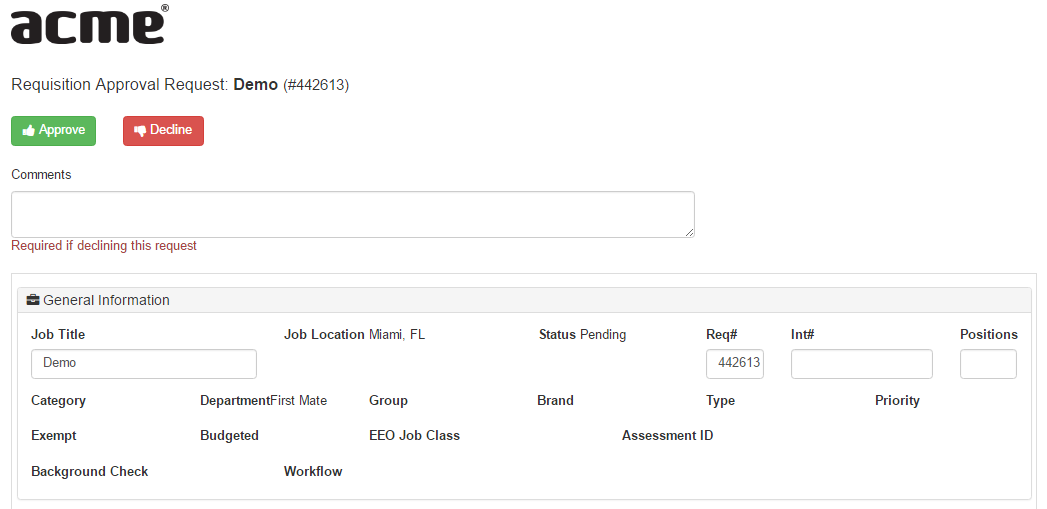
- For this example, we will approve the offer.
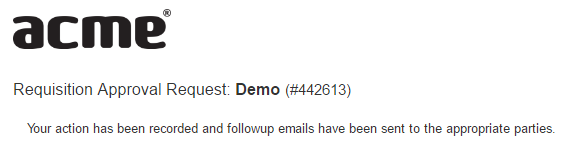
- It will now let you know that your action has been recorded and the associated parties notified.
Note: All parties have to approve in order for the offer to be approved.
If anyone in the approval chain declines the offer, it will no be approved.
Depending on what type of approval settings, you can resend the approval
chain to new approvers or resend it to the approvers who have declined.
- After all the approvers from the approval chain approve. The requisition will automatically be posted.
- To see the individuals who have declined/approved select "Edit Offer" which will take you to the offer editor page.
- At the bottom of the page, there is an offer approval history section.

- This section will show you the approvers, date of response, response, comments, and attempts.
- Attempt - Attempts are how many times the chain is restarted. If the job has been declined you can restart the chain, this will then count as an attempt for approval.
Note: Resending the approval will not count as an attempt.
Video: