This article will cover how to add, replace and delete general documents.
The purpose of the general document library is to store company documents.
- The first step is to access the General Document Library.
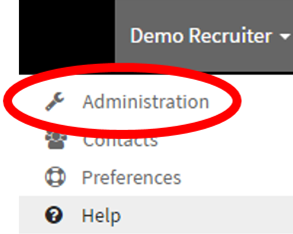
- In the navigation bar on the top right corner, select your name.

- A drop-down menu will appear.
- Once, in the dropdown menu
- Select the "Administration" link.
- You will now land on the Administration Control Panel page
- Under the "Templates & Document Library" column select "General Document Library".
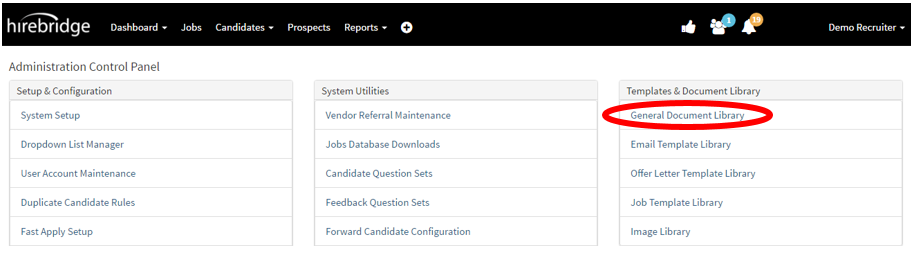
- After you have selected the link you will now land on "General Document Library" page. This page allows you to add, replace and delete general company documents.
To upload a new file into the library
- Insert a title in the box below "Document Title".
- Choose the file you would like to upload into the library.
- Once you are satisfied with the document file and title you can now click on the blue "Upload" button.

To replace a file
- Find the file you would like to replace
- Select the "Replace" link in the same row.
- it will now instruct you to follow the instructions below to upload the new file
- Once satisfied with the Document title and file select the blue "Upload" button.
(Example Photo of when the "Replace" button is selected)

How to delete a document in the General Document library
- Find the file you would like to delete
- On the right side of the file, there is a delete option with a trash can on the side of it.
- After you have selected the delete button a confirmation prompt will appear to confirm the delete.
(Below is a picture example of when delete is selected.)
