This article will cover how to add/edit users in the Hirebridge system.
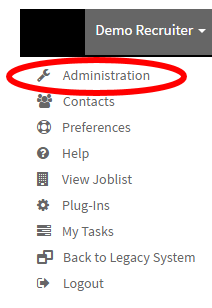
- In the top right corner of the navigation bar, select your username.

- a drop-down menu will appear, this is where you will now select "Administration".
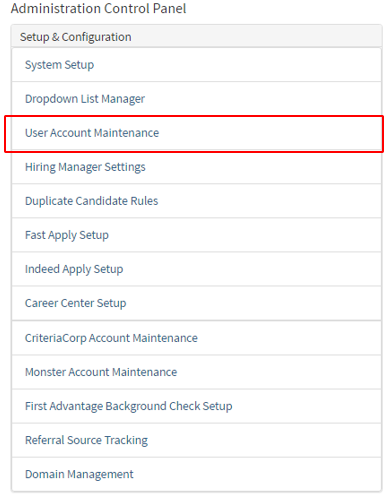
- Once you have selected "Administration" it will take you to the "Administration Control Panel".
- On this page select "User Account Maintenance".
- On the "User Account Manager" page, it will now show the list of users in the company.
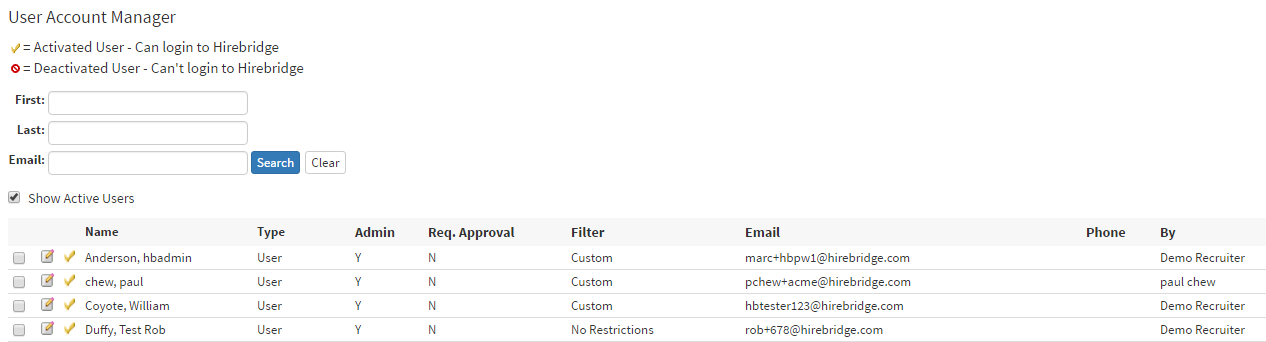
Name – Shows the username
Type – Shows the type of user
Admin – Shows if the user is an admin
Req. Approval – Shows if the user can approve requisitions
Filter – Shows if the user has a filter to what they can see
Email – Shows the user email
Phone – phone number of the user
By – this shows who the account was created by.
 |
- Allows you to edit User information and settings |
 |
- Shows that the user is an Activated User - Can login to Hirebridge |
| - Deactivated User - Can't login to Hirebridge |
- To add a Hiring Manager go to the bottom of the page

- Send Email - Allows you to send an email to the users (Select the checkboxes next to the username then select send email to do this action)
- Add User - Allows you to add a user into the Hirebridge system
- Download Recruiters - Downloads the list of recruiters via CSV
- Download Hiring Managers - Downloads the list of Hiring Managers
- Import Recruiter - Enables you to import recruiters via CSV (This will take you to a new page which will provide you with instruction on formatting of the CSV)
- Import Hiring Manager - Enables you to import Hiring Managers via CSV (This will take you to a new page which will provide you with instructions on formatting of the CSV)
Now we will show you how to "Add Hiring Manager".
- After you have selected the "Add Hiring Manager" it takes you to the "Hiring Manager Account Editor" page.
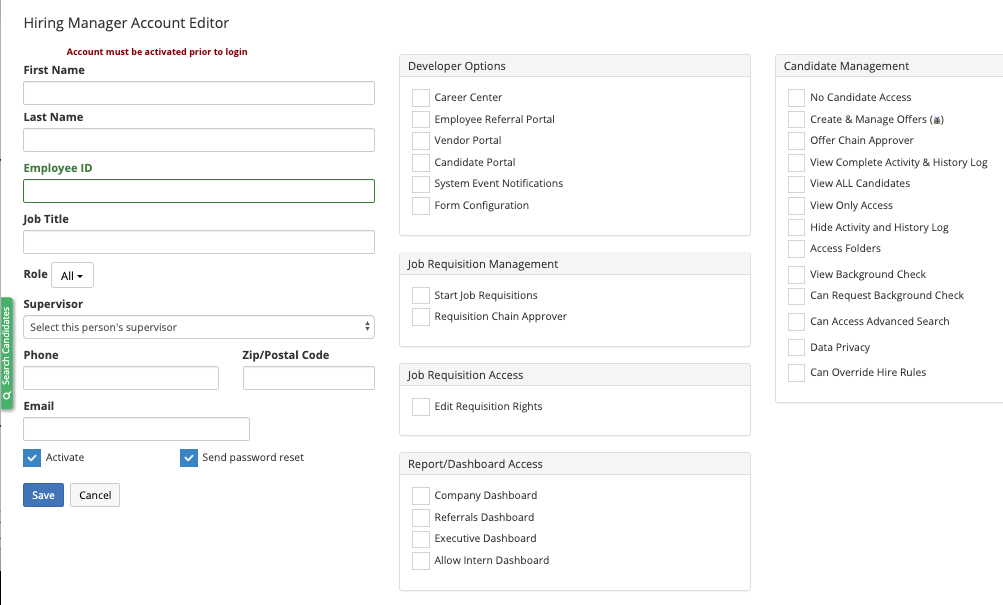
We will cover this page into sections starting with the left side.
- First Name - Add User First Name
- Last Name - Add User Last Name
- Employer ID - Add Employer ID
- Job Title - Add Employee Title
- Role - Add a role to the hiring manager
- Supervisor - Select a supervisor for the hiring manager
- Phone - Add user phone number
- Zip/Postal Code - Add User zip code
- Email - Add user email
- Activate - Allows you to create and activate the account
- Send Password Reset - Will send out a password reset once account is created.
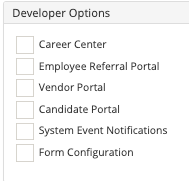
Developer Options
- Career Center - Checking this will allow you to have access to the Career Center settings.
- Employee Referral Portal - Checking this will allow you to have Employee Referral Portal settings access.
- Vendor Portal - Checking this will allow you to have Vendor Portal settings access.
- Candidate Portal - Checking this will allow you to have Candidate Portal settings access.
- System Event Notifications - will allow you to have access to create notifications based on actions that occur.
- Form Configuration - will allow you to have access to make adjustments to your application form.
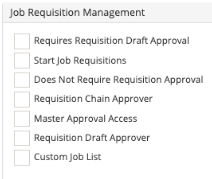
Job Requisition Management
- Requires Requisition Draft Approval - Requires a requisition draft approval
- Start Job Requisitions - Enables the user to start job requisitions
- Does Not Require Requisition Approval - Allows the user to start requisitions without approval
- Requisition Chain approver - Makes the user a chain approver
- Master Approval Access - Gives the user Master Approval Access
- Requisition Draft Approver - Allows the user to be a draft approver.
- Custom Job List - Checking this allows the user to view only the custom job list.
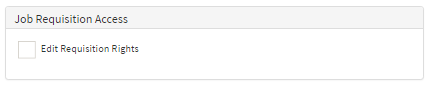
Job Requisition Access
- Edit Requisition Rights - Allows the user the right to edit requisitions
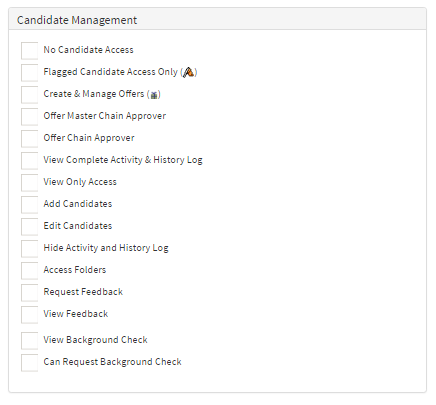
Candidate Management
- No Candidate Access - restricts the candidate from accessing candidates
- Flagged Candidate Access Only - Allows the user candidates that have been flagged only
- Create & Manage Offers - Allows the User to create and manager offers
- Offer Master Chain Approver - Makes the user a Master Chain Approver
- Offer Chain Approver - Makes the user one of the available Chain Approvers
- View Complete Activity & History Log - Gives the user the access to view activity/history log
- View Only Access - Gives the user View Only Access
- Add Candidates - Allows the user to add candidates
- Edit Candidates - Allows the user to be able to edit candidates
- Hide Activity and History Log - Hides the activity and history from the user
- Access Folders - Enables the user to access the prospects folder
- Request Feedback - Allows the user to request feedback on a candidate.
- View Feedback - Enables the user to view feedback.
- View Background Check - Allows the user to view the background check.
- Can Request Background Check - Allows the user to request background checks
Report/Dashboard Access
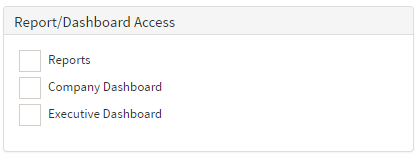
- Reports - Checking this box allows access to the reports tab
- Company Dashboard - Checking this allows access to the Company Dashboard
- Executive Dashboard - Checking this allows access to the Executive Dashboard.
After you have filled out the information and settings for the user simply select the blue "Save" button.
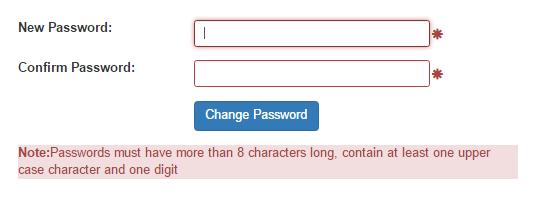
The user will now receive an email with a link that will expire to create a password
(Pictured below)
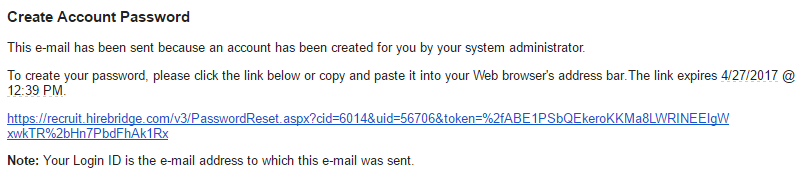
Below is the page of the link provided below